
Last updated September 20, 2026
Free on-site gate assessment - hinges, posts, and your LiftMaster or Nice gate operator checked before anything is quoted
The assessment is free and the quote is the invoice.


 Before
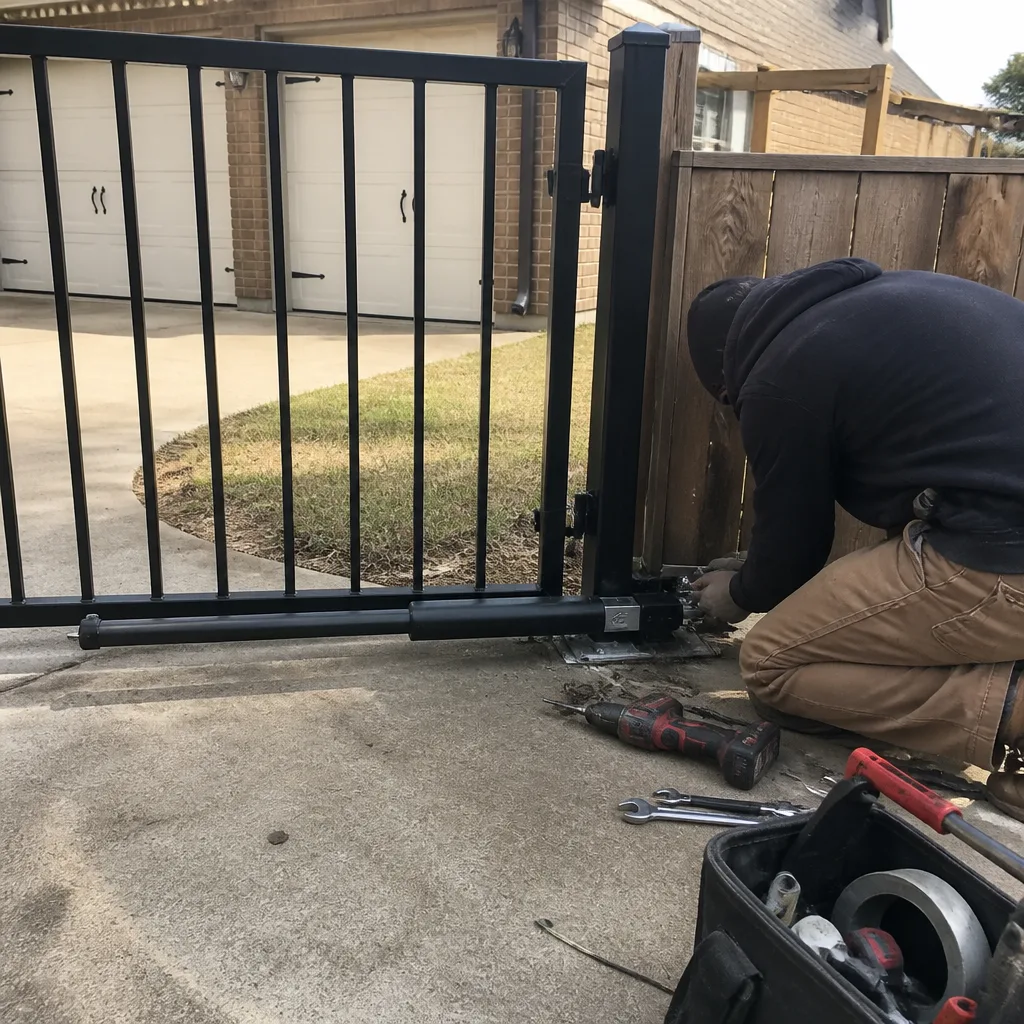 After
After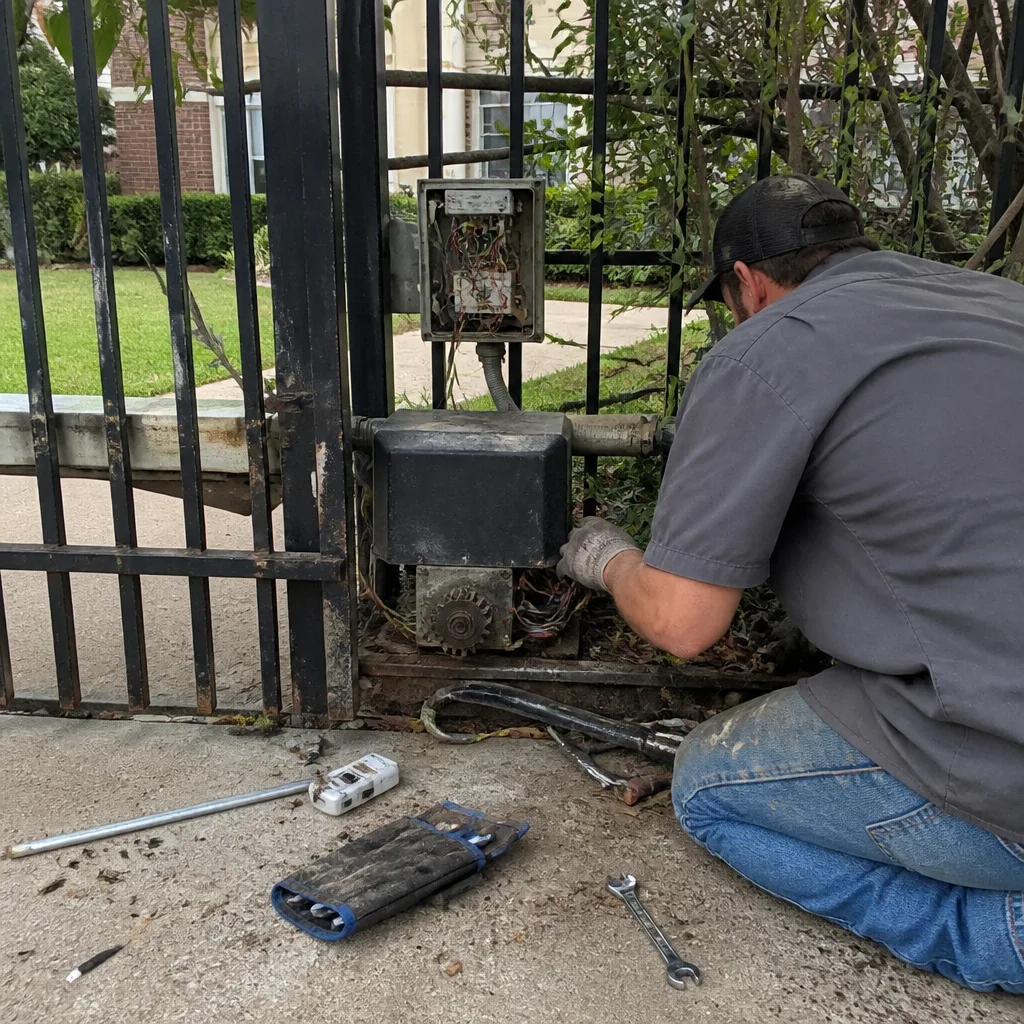 Before
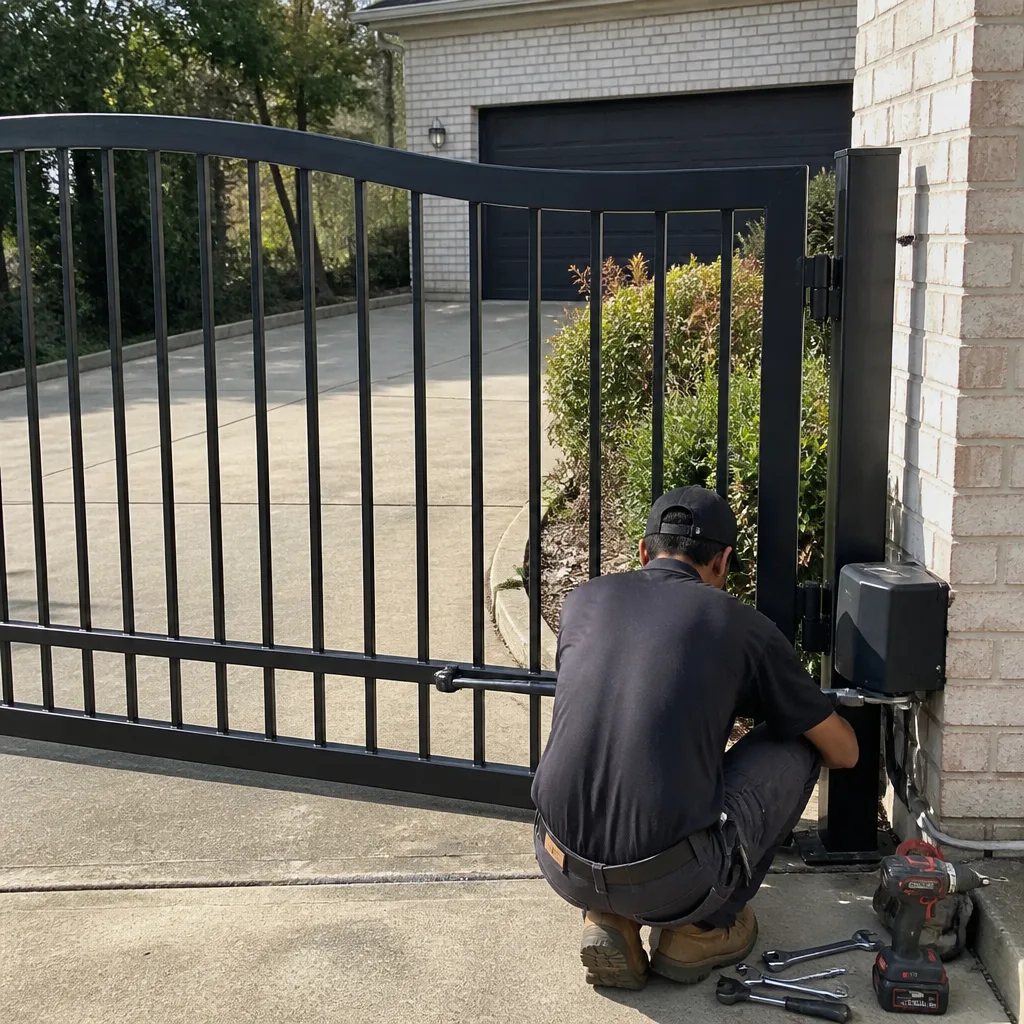 After
After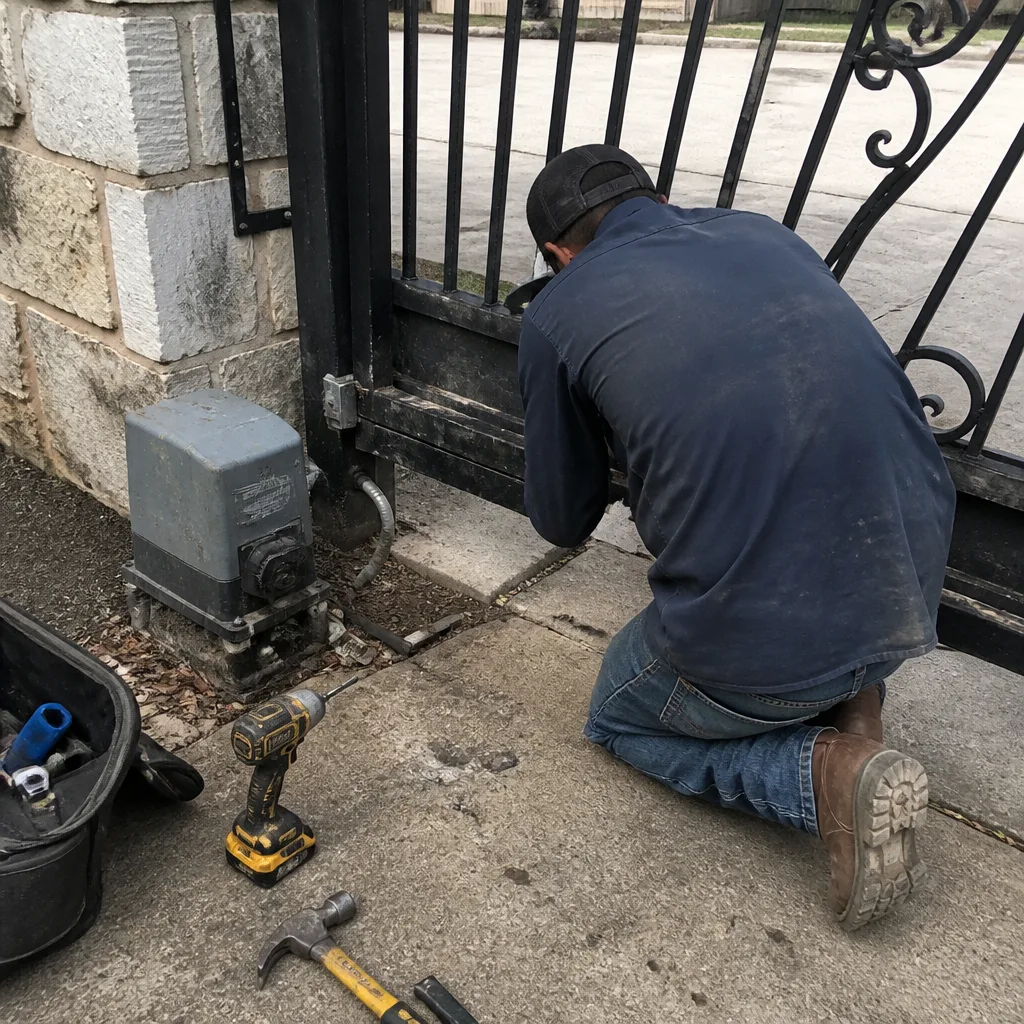 Before
 After
AfterGate Repair Maintenance Checklist for Mansfield Homeowners
Most gate maintenance checklists say “inspect your hinges.” None of them tell you that a hinge with more than 1/8-inch of vertical play is already causing your motor to work roughly 30% harder than its rated load. That single measurement, taken with a tape measure and five minutes of your time, tells you more about the remaining life of your gate than a full afternoon of vague “checking.” This guide gives you the pass/fail thresholds that matter, the tasks you can do with standard tools, the ones you should not attempt, and a seasonal schedule built around what Mansfield’s summers and spring storms actually do to steel, rollers, and control boards. For Gate Repair Warning Signs: A Mansfield Homeowner’s Reference Guide, see our dedicated resource. By the end, you’ll know the difference between normal wear and a repair bill that’s about to grow.
Quick Answer
A useful gate maintenance checklist for Mansfield homes checks seven systems: hinge play (under 1/8 inch vertical), roller condition (no flat spots or rust pitting), opener force settings (gate reverses on light resistance), photo-eye alignment (beam stays lit and steady), battery voltage at the control board (above 12.4 VDC under load), cycle time consistency (within two seconds of baseline), and lubrication (silicone or lithium spray, never WD-40 on operators). Homeowners can complete roughly 60% of these checks with standard tools; wiring, spring tension, and motor diagnostics require a technician and test equipment.
Table of Contents
- Hinge Play: The 1/8-Inch Threshold That Predicts Motor Wear
- Roller and Track Inspection: What a Passing Result Looks Like
- Opener Force Settings and the Reversal Test
- Photo-Eye Alignment: The Infrared Beam Mansfield Dust Attacks
- Battery and Control Board Voltage: Your 12.4-Volt Baseline
- Lubrication: What to Use, What Degrades Seals, What Survives North Texas Heat
- A Seasonal Frequency Guide for Mansfield’s Climate
- The Photo Documentation Habit That Cuts Future Repair Costs
 Before
 After
AfterHinge Play: The 1/8-Inch Threshold That Predicts Motor Wear
Grab the top corner of your gate leaf and lift straight up. Then push it side to side. What you’re measuring is vertical and lateral play at the hinges, and the number that separates “normal” from “replace this before it cascades” is 1/8 inch. If the gate moves more than that at the hinge point, the leaf is no longer traveling in a true arc. The motor is compensating for that misalignment on every single open and close cycle, and that compensation shows up as heat at the windings and wear on the output shaft.
We’ve documented this on gates across Mansfield, from the established steel estates off Broad Street to newer installations in the neighborhoods west of 287. The pattern is consistent: a homeowner calls us for a motor that suddenly stopped, and the motor is rarely the root cause. The root cause is almost always mechanical. Hinges with 3/16-inch or 1/4-inch of play have been feeding lateral load into the operator for months before the failure.
How to Measure Hinge Play Correctly
- Close the gate fully and engage the lock or secure the leaf so it cannot swing.
- Place a tape measure against the top hinge barrel, with the end of the tape resting on the post side.
- Lift the gate leaf by the end opposite the hinge. Watch the tape for vertical movement at the hinge point.
- Repeat at the bottom hinge.
- Push the gate laterally toward and away from the post. Measure any gap change at the hinge knuckle.
Pass: Movement at any hinge is under 1/8 inch in all directions. Hinge pins show no visible wear rings or scoring. Fastener heads are flush against the post plate, no daylight behind them.
Fail: Movement at any hinge exceeds 1/8 inch. The gate leaf sags visibly when opened halfway. You can see a wear ring machined into the pin. Any of these means the gate is loading the opener unevenly, and the repair is cheaper before the motor fails than after. A worn hinge set on a typical Mansfield swing gate runs between $80 and $220 installed, depending on leaf weight and whether the post plate needs re-welding. Our Gate Repair services cover hinge replacement through full motor rebuilds. A replacement swing-gate motor runs $450 to $900. The math favors catching the hinge first.
This is a homeowner-level check. You are not adjusting, shimming, or welding anything. You are measuring and recording. The number goes on paper and into your phone camera roll, and you compare it the next time you check.
Roller and Track Inspection: What a Passing Result Looks Like
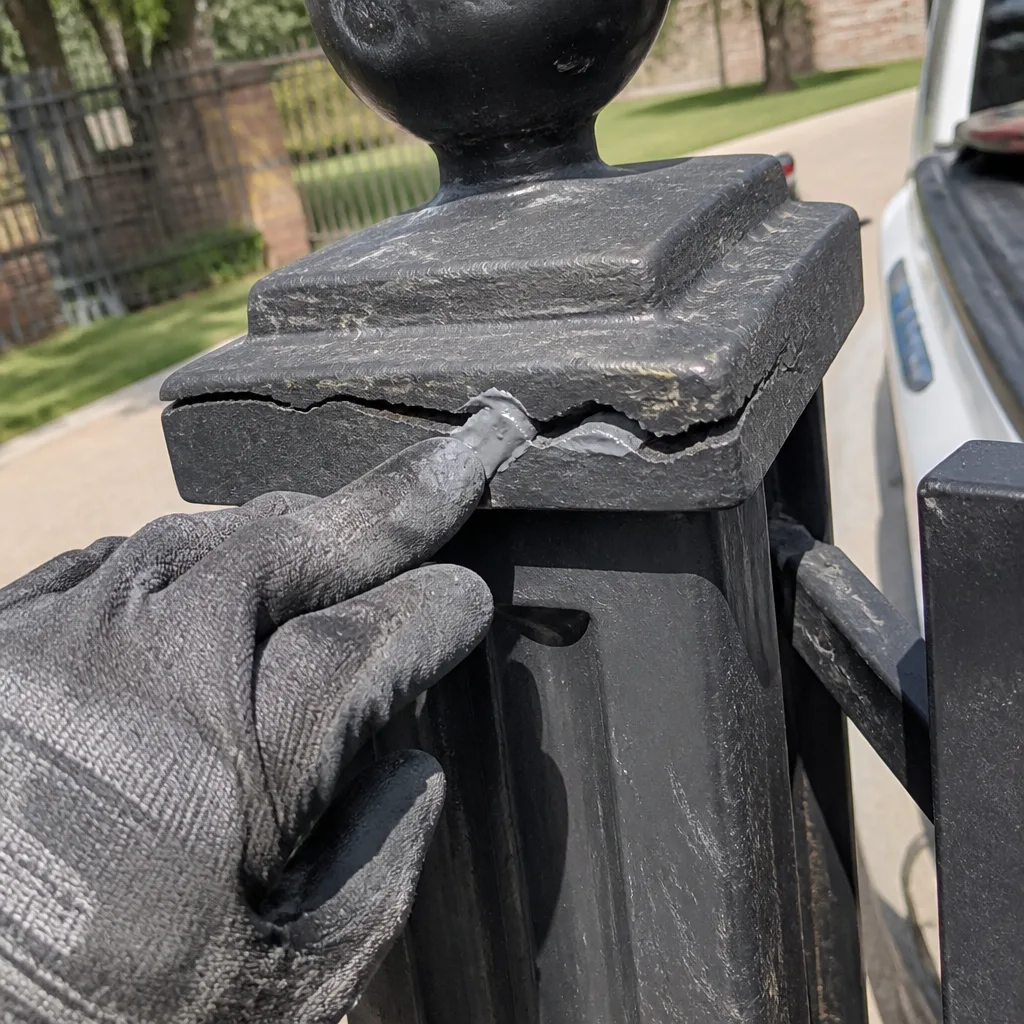
Slide gates live or die on their roller trucks and the track surface they ride on. In Mansfield, two things accelerate roller failure faster than anywhere with cleaner air: construction dust and red clay fines. Newer subdivisions generate a fine grit that settles into track channels and grinds against nylon and sealed bearings. Older lots with exposed soil contribute iron-rich clay particles that pack into wheel grooves and harden like cement.
The inspection sequence is simple, but the pass criteria are specific.
Roller Condition Checklist
- Tread surface: No flat spots, no chunks missing, no visible embedding of grit. Run your finger across the wheel face. It should feel smooth, not like sandpaper.
- Rotation: With the gate disengaged from the motor (your opener has a manual release handle), roll the gate by hand. Every wheel should rotate continuously. A wheel that skids instead of rolling has a seized bearing and is now a brake, not a support.
- Track contact: The full width of each wheel should sit flat on the track rail. A wheel riding on its edge means the truck bracket is bent or the rail has shifted.
- Track cleanliness: The rail channel should be free of packed debris, stones, and rust scale. A track that holds water after rain is a track that will rot the wheel bearings within a season.
Pass: Wheels rotate freely by hand with the gate disengaged, treads are smooth, track channel is clean and dry, and the gate rolls the full length without audible grinding or visible hopping.
Fail: Any skidding wheel, visible flat spot, or track obstruction. These are early-stage failures. Ignoring a seized roller turns a $35 wheel into a $300+ roller truck replacement and stresses the motor gearbox.
Cleaning the track is homeowner work. A stiff brush, a shop vacuum, and a flat scraper handle most Mansfield track channels. Replacements, however, are not always what they seem. A bent roller bracket can mimic a bad wheel. We’ve seen homeowners replace wheels twice before discovering the truck was welded on crooked from day one. If new wheels don’t solve the problem within a week, the issue is geometry, not parts. That’s technician territory, and our Gate Repair in Mansfield work starts with measuring the rail and truck alignment before we recommend any replacement part.
Opener Force Settings and the Reversal Test
Every gate opener manufactured since the early 2000s, including models from Ghost Controls, DoorKing, and Elite, includes an obstruction detection system built around the motor’s amperage draw. The control board measures how hard the motor is working. When resistance spikes, it reverses direction. That system only works if the force setting is calibrated correctly, and calibration drifts. Temperature swings, gear wear, and battery voltage variations all push the baseline away from where the installer left it.
The reversal test is the single most important safety check on any gate. Here’s how to run it, and what to look for.
- Cycle the gate open, then closed, while it travels freely. Note the time for each direction in seconds. Write it down.
- While the gate is closing, place your hand against the leading edge. The gate should stop and reverse within two seconds of contacting your hand.
- Repeat the test while the gate is opening.
- Compare the cycle times to your last recorded baseline.
Pass: The gate reverses with light, consistent hand pressure. Cycle times are within two seconds of your recorded baseline. The motor does not labor, chatter, or kick the breaker.
Fail: The gate keeps pushing against your hand for more than two seconds. The gate reverses on a cold morning but not on a hot afternoon. Cycle time drifts more than two seconds in either direction without a visible cause.
Any of these failures means the force setting has drifted or the obstruction circuit has a fault. This is not a user-adjustable setting on most modern boards. DoorKing and Ghost Controls units, for example, store force values in digital memory that requires a service mode to modify. Turning the mechanical limit adjusters on an older Elite or Mighty Mule without also re-verifying the force loop can leave the gate pushing through obstructions with the motor at full power.
In our experience, Mansfield homeowners are often surprised to learn that a gate that “works fine” is already failing this test. The gate travels, the motor hums, and everyone assumes the safety system is functioning because nothing has gone wrong yet. The reversal test is how a maintenance checklist finds the problem before a child, a dog, or a vehicle does. If your gate fails this test, stop using the automatic function and call a technician. The repair is usually a board recalibration or a force-sensor replacement, and it is the definition of urgent. More on that in our Gate Motor & Opener in Mansfield guide.
Photo-Eye Alignment: The Infrared Beam Mansfield Dust Attacks
Most residential gates use a photo-eye, a pair of small infrared transceivers mounted a few inches off the ground on either side of the gate opening. One side emits an invisible beam; the other side receives it. When anything crosses the beam while the gate is closing, the board receives an interruption signal and reverses the gate. When everything is aligned and clean, the receiver shows a steady indicator light.
Mansfield’s wind and construction dust settle on those lenses. A film that looks trivial, maybe a week’s worth of haze, is enough to scatter the infrared signal and cause intermittent no-close or no-open faults. The gate will stop working for no apparent reason, then work again. Homeowners call it a ghost. Technicians call it a dirty lens or a drifted bracket.
Photo-Eye Inspection Checklist
- Lens cleanliness: Wipe each lens with a dry microfiber cloth. Fingerprints, dust film, and sun-block residue are the top three culprits. Do not use glass cleaner containing ammonia; it can cloud polycarbonate lenses over time.
- Bracket stability: Grab each photo-eye housing and try to wiggle it. If the bracket moves, the beam moves. A single degree of tilt at three feet of throw translates to several inches of drift at the receiver.
- Indicator light: Note the color and state of the receiver LED. Steady green means aligned. Blinking means misaligned or obstructed. Red means power fault or wiring problem at that unit.
- Beam path: Look along the beam line from sender to receiver. Trim any foliage, remove any stored item, and clear any accumulated soil that intersects the line of sight.
Pass: Receiver shows a steady green (or the manufacturer’s steady “aligned” color), both housings are rock-solid, and the gate closes without hesitation when the beam is clear.
Fail: Blinking receiver light, brackets that flex under finger pressure, or a gate that refuses to close unless the photo-eye is manually bypassed. Bypassing a photo-eye is never acceptable as a permanent fix. On a Gate Repair in Mansfield call where a previous technician disabled the sensor, we document it, photograph it, and restore it before we leave.
This is one of the most straightforward homeowner checks on the list. Alignment adjustment, on the other hand, can be fussy. Some brands, especially Elite and older Mighty Mule units, use fixed brackets that require shimming. If cleaning the lenses and clearing the path doesn’t bring the indicator back to steady, call a tech rather than forcing the sensor. The sensor is not the problem; the bracket geometry is.
Battery and Control Board Voltage: Your 12.4-Volt Baseline
Every gate opener with battery backup runs on a bank of sealed lead-acid or, increasingly, lithium batteries. These batteries sit in a metal box near the motor, cooking all summer. Mansfield’s July heat, where afternoon temperatures routinely exceed 100°F, shortens sealed lead-acid battery life dramatically. A battery that would last four years in a mild climate might deliver three in Mansfield. A battery that fails partially creates the most misdiagnosed fault in the industry: the opener works on AC power but refuses to cycle during an outage, or the gate moves sluggishly and trips the breaker despite nothing being visibly wrong.
Testing voltage is a homeowner-adjacent task, meaning you can do it if you own a digital multimeter and are comfortable placing probes on DC terminals. If you are not comfortable, this is a five-minute check for any technician.
The baseline number for a healthy 12-volt battery under load is 12.4 volts or higher. A resting battery reading of 12.6 volts that collapses below 12.0 when the gate cycles is a battery that is nearly dead internally. We’ve measured 12.7 resting and 9.8 under load on gates where the homeowner swore the gate worked fine. It worked fine until the power went out during a storm, and then it didn’t work at all.
How to Check Battery Voltage Safely
- Locate the control board enclosure. It is typically a weatherproof box mounted near the gate or on the house wall adjacent to the gate.
- Identify the battery terminals. They are usually marked “BATT” or “+” and “-” with a wire pair leading to the battery enclosure.
- Set your multimeter to DC voltage, 20-volt range.
- Place the red probe on the positive terminal and black on negative. Record the resting voltage.
- Cycle the gate open or closed while watching the meter. Record the voltage during travel.
Pass: Resting voltage above 12.5 volts. Under-load voltage above 12.0 volts. Voltage recovers to resting level within 30 seconds of gate travel ending.
Fail: Resting voltage below 12.2 volts. Under-load voltage below 11.5 volts. Any reading that drops more than 1.5 volts under load and recovers slowly.
When we replace a battery on a Vance Gate Repair Mansfield job, the homeowner gets a written record of the old battery’s condition, the new battery’s part number, and a photo of the new battery installed with its date code visible. That documentation means the next technician, whether it’s us or someone else, knows exactly when the battery was replaced and can verify whether a failure is premature or end-of-life. It’s the same documentation habit Adrian Vance brought out of commercial access-control work in 2014, and it costs the homeowner nothing extra.
Lubrication: What to Use, What Degrades Seals, What Survives North Texas Heat
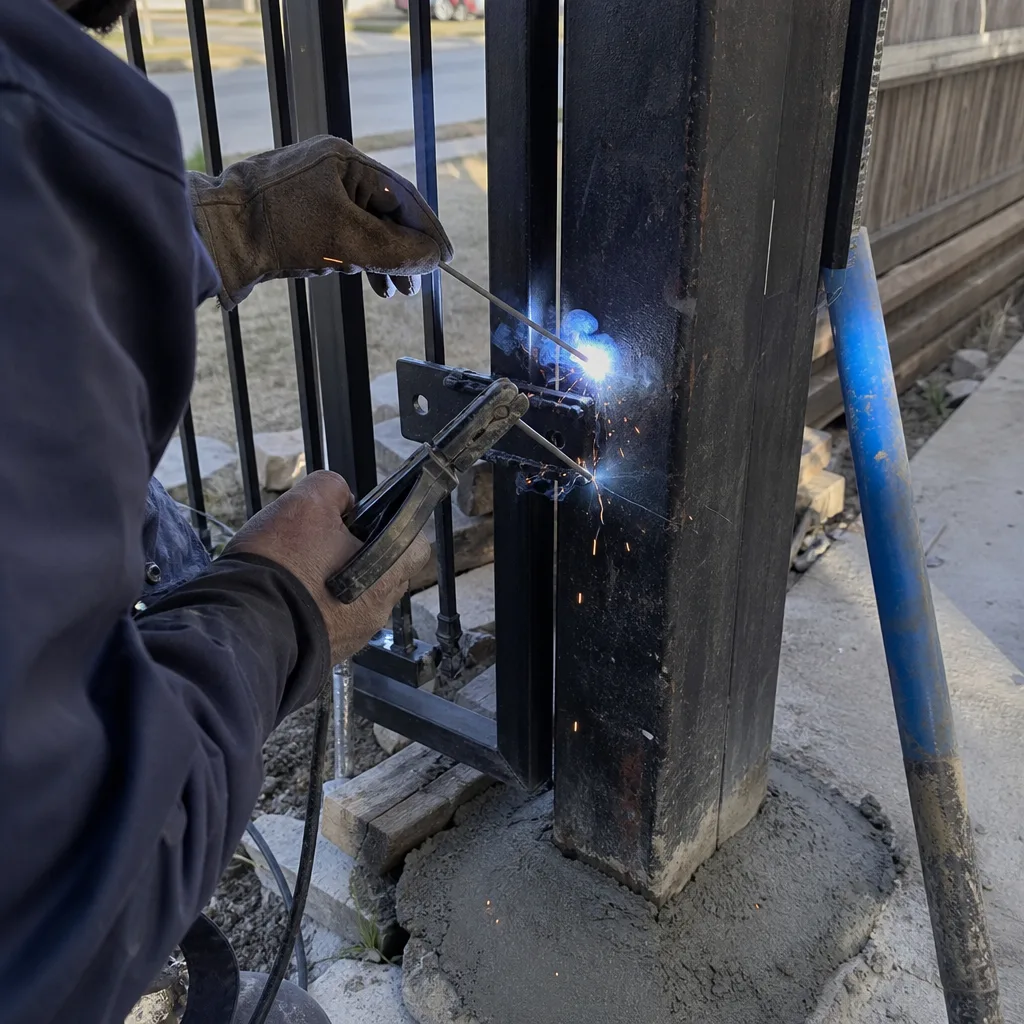
Lubrication is the one maintenance task every checklist includes and almost everyone does wrong. The wrong product does more damage than no product, and the wrong product is the one most people already own.
WD-40 is not a lubricant for gate hardware. It is a solvent and water displacer. It strips away protective oil film and leaves metal surfaces more exposed than before. It also attacks certain rubber and neoprene seals used in operator gearboxes and hinge bushings. Spraying WD-40 on your gate hinges or rollers feels productive and shortens component life.
For Mansfield, the choice comes down to two products: a dry silicone spray for photo-eye brackets, hinge pins, and any moving part that contacts rubber or nylon, and a white lithium grease for steel-on-steel contact surfaces like roller truck axles and chain drives. The silicone resists the fine dust that blows across the prairies west of town, and the lithium stays put when afternoon temperatures climb past 100°F. Heavier greases melt and run in that heat, leaving a sticky residue that traps grit.
Lubrication Points and Products
- Hinge pins: Dry silicone spray. One short burst per pin. Wipe away excess that runs down the post.
- Roller bearings: If sealed, do not lubricate. If serviceable, one drop of light machine oil per bearing, then wipe the outer surface dry.
- Chain drive (if equipped): White lithium grease applied lightly to the chain interior. Wipe away all excess. Over-lubricated chains fling grease onto the track and attract dirt.
- Worm gear and gearbox: Do not open the gearbox. On almost all residential openers, the gearbox is sealed and lubricated for life. Opening it voids the warranty and introduces contamination.
- Photo-eye bracket screws: One drop of silicone on the threads prevents seizing and simplifies future alignment adjustments.
The Mansfield-specific issue with lubrication is frequency. You are not following a “twice a year” schedule from a generic checklist. You are re-lubricating after specific events: after any extended dust storm, after landscape crews blow grass clippings and soil toward the gate, and after any period where the gate sat unused for more than two weeks. A thin film of fresh lubricant is the cheapest protection a gate has in this climate, and the harm from over-application is almost as bad as neglect. If lubricant runs down onto the track surface, you applied too much.
Our crew at Gate Installation in Mansfield sees the consequences of both extremes. Gates with pins so dry they squeal and gates with so much grease on the track that every wheel picks up a coating of gritty paste. The goal is a visible sheen on the pin, not a bead that drips. If you can wipe the pin with a finger and come away with a wet smear, that’s correct. If you come away with a glob, clean it off and start over.
A Seasonal Frequency Guide for Mansfield’s Climate
Generic gate maintenance advice says “inspect your gate twice a year.” That’s nearly useless in Mansfield. Our climate does not deliver two seasons; it delivers four distinct stress profiles, and two of them hit the gate harder than the others. Here is the schedule we recommend to homeowners, built around what we actually see in the field.
Spring (March through May)
This is the season of storms and the season of neglect recovery. Check every item on this checklist, with special attention to battery voltage and photo-eye alignment. Spring thunderstorms interrupt power, and the battery’s job is to run the gate during the interruption. A battery that was marginal in the mild winter will fail completely during the first spring storm cycle. Re-lubricate after the first sustained rain, because rain drives soil fines up onto the track and into hinge areas.
Summer (June through September)
Heat is the active failure agent. Re-check hinge play and roller rotation monthly if you can manage it; quarterly at minimum. Grease thins and runs. Rubber seals soften and deform. Batteries degrade faster than in any other season. If your gate cycle time drifts more than two seconds between June and August, suspect a dying battery or a motor that is overheating, not an obstruction.
Fall (October through November)
This is the season for deferred maintenance. The temperature is comfortable, and it’s the best time of year to address anything flagged as marginal during the summer. Replace worn rollers, tighten brackets, and recalibrate operator force before the freeze/thaw cycles of winter make metal contract and expose hidden play. We get a measurable uptick in calls in October from Mansfield homeowners who finally address the gate that struggled all summer.
Winter (December through February)
Focus on track cleanliness and chain lubrication. The cold does not kill gates, but accumulated grit and moisture in the track will freeze into a paste that stresses the motor on the first cycle of a cold morning. Re-check photo-eye bracket stability after any freezing rain or ice event. And once per winter, unplug or switch off the opener and confirm the manual release still operates smoothly. That release is the thing that lets you open the gate when the power is out and the battery is dead, and most homeowners discover it has seized only when they need it most.
The Photo Documentation Habit That Cuts Future Repair Costs
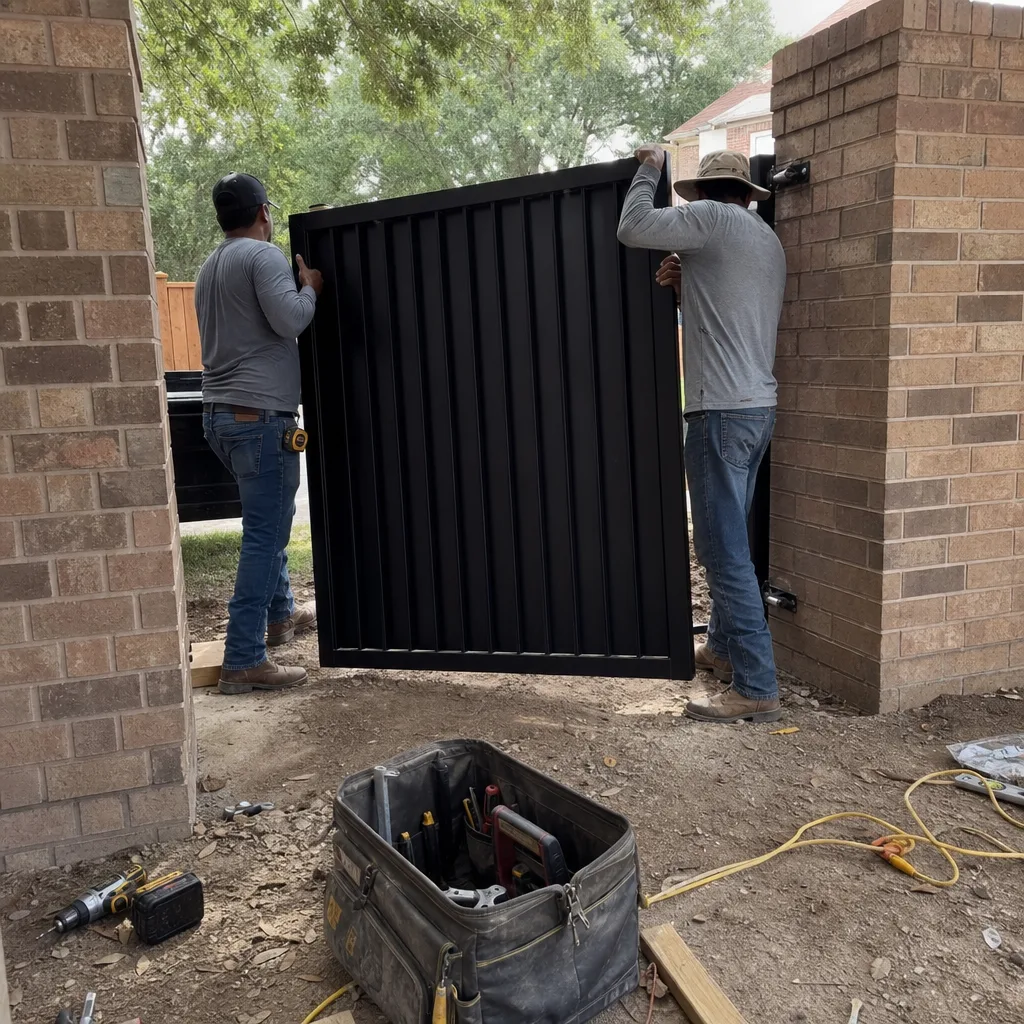
Every maintenance session should end the same way: with photos in your phone and a written record that lives somewhere you can find it. Browse our more guides & resources for deeper maintenance strategies and regional gate care advice. This habit does more to control future repair costs than any other single action, because it gives the next technician a true baseline instead of a verbal description.
Here is what to photograph each time you run the checklist:
- The hinge pins from both sides. This captures wear on the pin surface and any gap at the bracket. Over time, these photos reveal migration that a single inspection misses.
- The control board, clearly. A sharp photo of the board, with any indicator LEDs visible, captures status light patterns that matter during intermittent faults.
- Any label or part number visible on the motor and battery. Future-you will not remember the model number. The photo will.
- The full gate in both open and closed positions. This documents sag, alignment drift, and track wear progression.
- The photo-eye alignment. A photo from the receiver’s perspective, looking back toward the sender, shows whether the beam path is clear.
Store these in a dedicated folder on your phone or in a link shared with family members. When a technician asks “when did this start?”, you can show them exactly what the gate looked like two seasons ago. The technician stops guessing and starts measuring.
This is the philosophy behind The Haven Standard at Vance Gate Repair Mansfield. Our technicians photograph every adjustment and leave a written record on every visit, including part numbers and settings. The homeowner gets the same documentation a commercial facility manager would demand. When you do the same thing for your own between-service checks, you build a maintenance history that any future technician, including ours, can read in ninety seconds. That’s the difference between paying someone to re-diagnose a problem and paying someone to fix it. For the full breakdown of our Vance Gate Repair Mansfield home service, that documentation habit is the backbone, not an add-on.
Common Mistakes to Avoid
- Lubricating before cleaning. Applying silicone or lithium over a layer of accumulated Mansfield dust creates grinding paste. Brush and wipe first, then lubricate. The order matters more than the product.
- Using WD-40 as a maintenance lubricant. It strips protective films and attacks some rubber seals in operators. If WD-40 is the only product on the shelf, skip the lubrication step until you buy the right one.
- Ignoring a slow cycle-time drift. A gate that takes two seconds longer to close in August than it did in May is sending you a signal. The motor is working harder, and the cause will not fix itself.
- Tightening things that should be left alone. The torque on spring tension rods and motor mounting bolts is set during installation. Overtightening a spring attachment can change the gate’s balance and shift load to the motor.
- Bypassing safety sensors instead of fixing them. A photo-eye that constantly trips is misaligned or failing, not superfluous. Bypassing the sensor eliminates the gate’s primary obstruction protection.
- Deferring hinge wear because “the gate still opens.” The motor does not care that the gate still opens. It cares that it is now working 30% harder to do it. Hinge slop is a motor replacement tax paid in installments.
- Waiting for failure before addressing voltage readings. A battery reading 12.0 volts under load has already failed functionally. You just haven’t had the power outage that exposes it yet.
When to Call a Professional
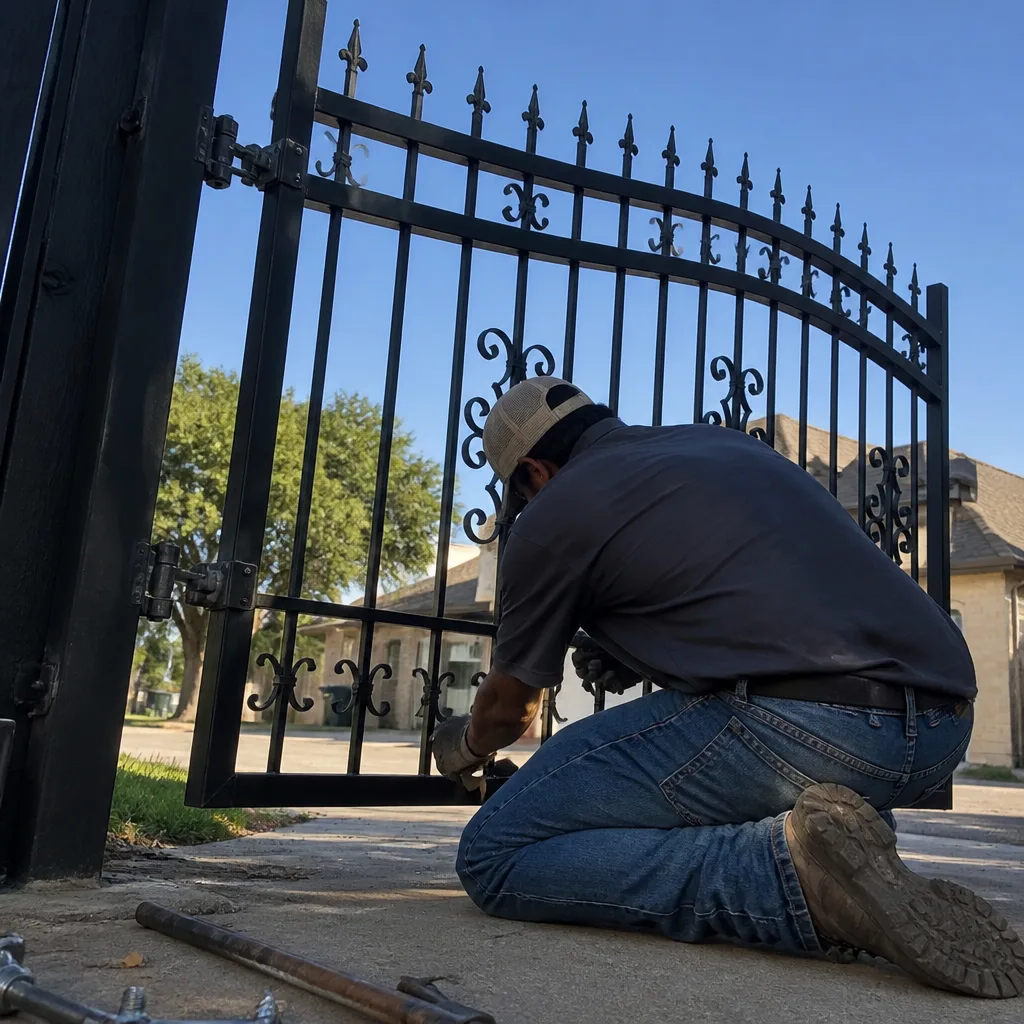
Call a professional when your gate fails the reversal test, when hinge play exceeds 1/8 inch, when battery voltage drops below 12.0 under load, when the photo-eye stays in a fault state after lens cleaning and path clearing, or when you hear any grinding noise that wasn’t there before. Also call if you’ve completed this checklist and found a fail on any item you’re not equipped to repair yourself. Gate springs, welding, control board diagnostics, and motor gear repair are not homeowner work. They can cause serious injury if not handled correctly, and the tooling required goes beyond what most households own. Vance Gate Repair Mansfield offers free estimates in Mansfield - call (682) 564-0512. A live person answers, day or night, and the written price comes before any work starts.
Frequently Asked Questions
A standard gate tune-up visit in Mansfield typically runs between $120 and $250 depending on gate type, age, and condition. That usually covers the full inspection checklist, lubrication, force-setting verification, photo-eye alignment, and a written report with photos. Parts or additional repairs are quoted separately and in writing before any work begins. Call (682) 564-0512 for an exact quote, estimates are free.
About 60% of this checklist is homeowner-level work: measuring hinge play, cleaning the track, wiping photo-eye lenses, lubricating pins, checking battery voltage with a multimeter, and running the reversal test. The remaining 40%, including spring adjustment, board diagnostics, force recalibration, and welding, requires specific tools and safety knowledge better left to a trained technician.
We recommend a full inspection quarterly, with spring and fall being the most important sessions given Mansfield’s storm season and summer heat. Add re-lubrication after significant dust events, heavy landscape work near the gate, or any period where the gate sat unused for two weeks or more. Battery voltage checks are worth doing monthly during the summer.
Use a dry silicone spray on hinge pins, brackets, and any moving part that contacts rubber or nylon. Use white lithium grease on steel-on-steel surfaces like roller truck axles and chain drives. Avoid WD-40 and heavy greases that thin and run in Mansfield’s summer heat, leaving a sticky residue that traps abrasive dust.
Intermittent operation almost always points to one of three issues: a dirty or drifting photo-eye, a battery that is failing under load, or a thermal overload causing the motor to shut down when hot. Run through the photo-eye cleaning steps and battery voltage check in this guide. If both pass, the issue is likely board-level and warrants a technician visit.
Yes. Vance Gate Repair Mansfield works on nine major brands including Ghost Controls, DoorKing, Elite, and Mighty Mule, plus five others. We repair whatever motor is already on the property rather than steering toward a replacement unless the repair math makes replacement the honest recommendation. Call (682) 564-0512 for a free estimate.
The Bottom Line
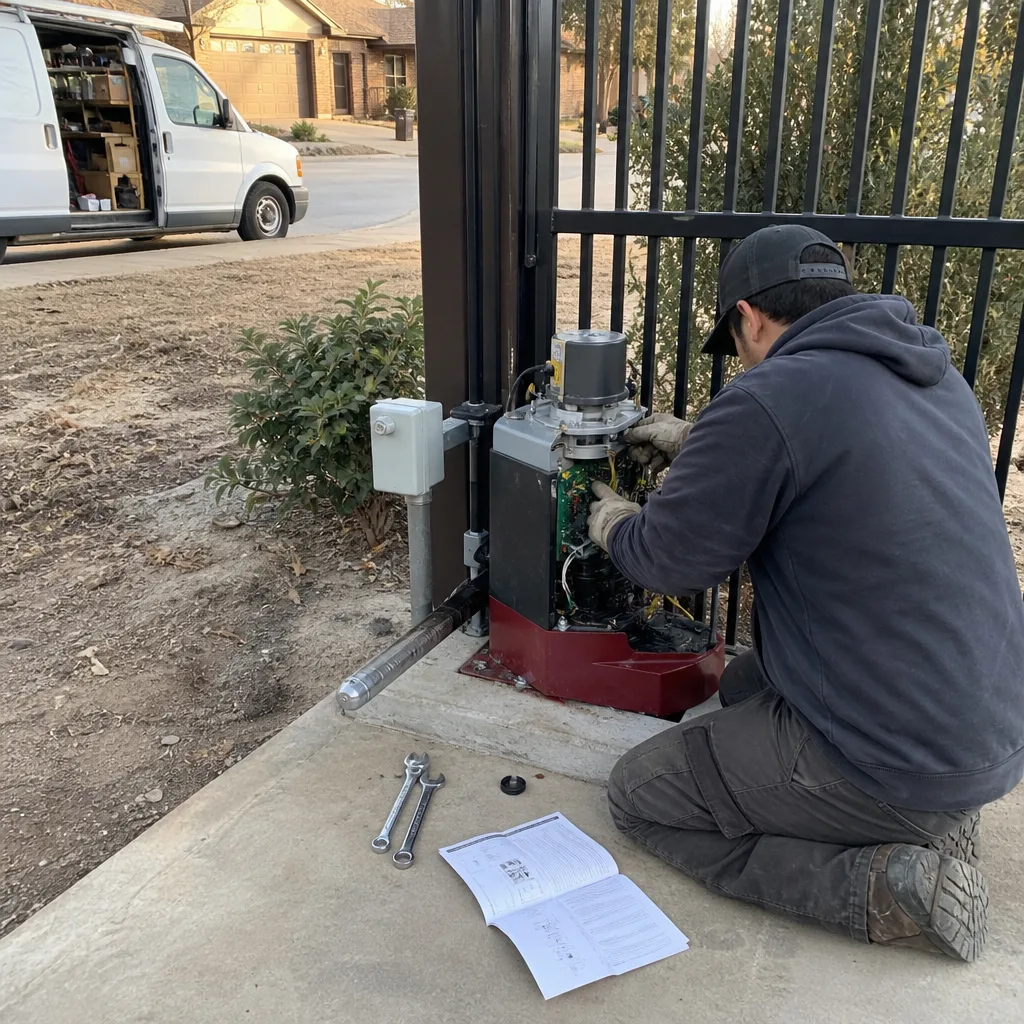
A maintenance checklist only protects you when it tells you what acceptable looks like in numbers. Hinge play under 1/8 inch, battery voltage above 12.4 under load, cycle times within two seconds of baseline. Those thresholds, applied quarterly and documented with photos, separate normal wear from fatigue that’s feeding load into your motor. Most gate failures are not sudden. They are slow, measurable, and predictable. The homeowner who checks for the numbers catches the hinge before the motor fails, the battery before the outage, the sensor before the obstruction. Everyone else gets the surprise. In Mansfield’s heat, dust, and storm cycles, the differential is a few hundred dollars in small repairs against a few thousand in replacement costs. That’s not luck. That’s a checklist.
Written by Adrian Vance, Owner at Vance Gate Repair Mansfield, serving Mansfield since 2014.